I'm using a Mac but it should be the same on Windows.
Connect the Q2n-4K to the computer via the USB port and turn the Zoom on. The camera will usually detect that it's connected via USB to a computer and present you with the option to use it as a card reader, webcam (default), or a USB microphone. Select the center Webcam option and press the red button for OK. It will then ask you if you want to start the webcam - press the red button again.
I usually create a separate scene for the zoom webcam but that's not necessary, the webcam can be added to an existing scene. Create or select the Scene you want to add the webcam to.
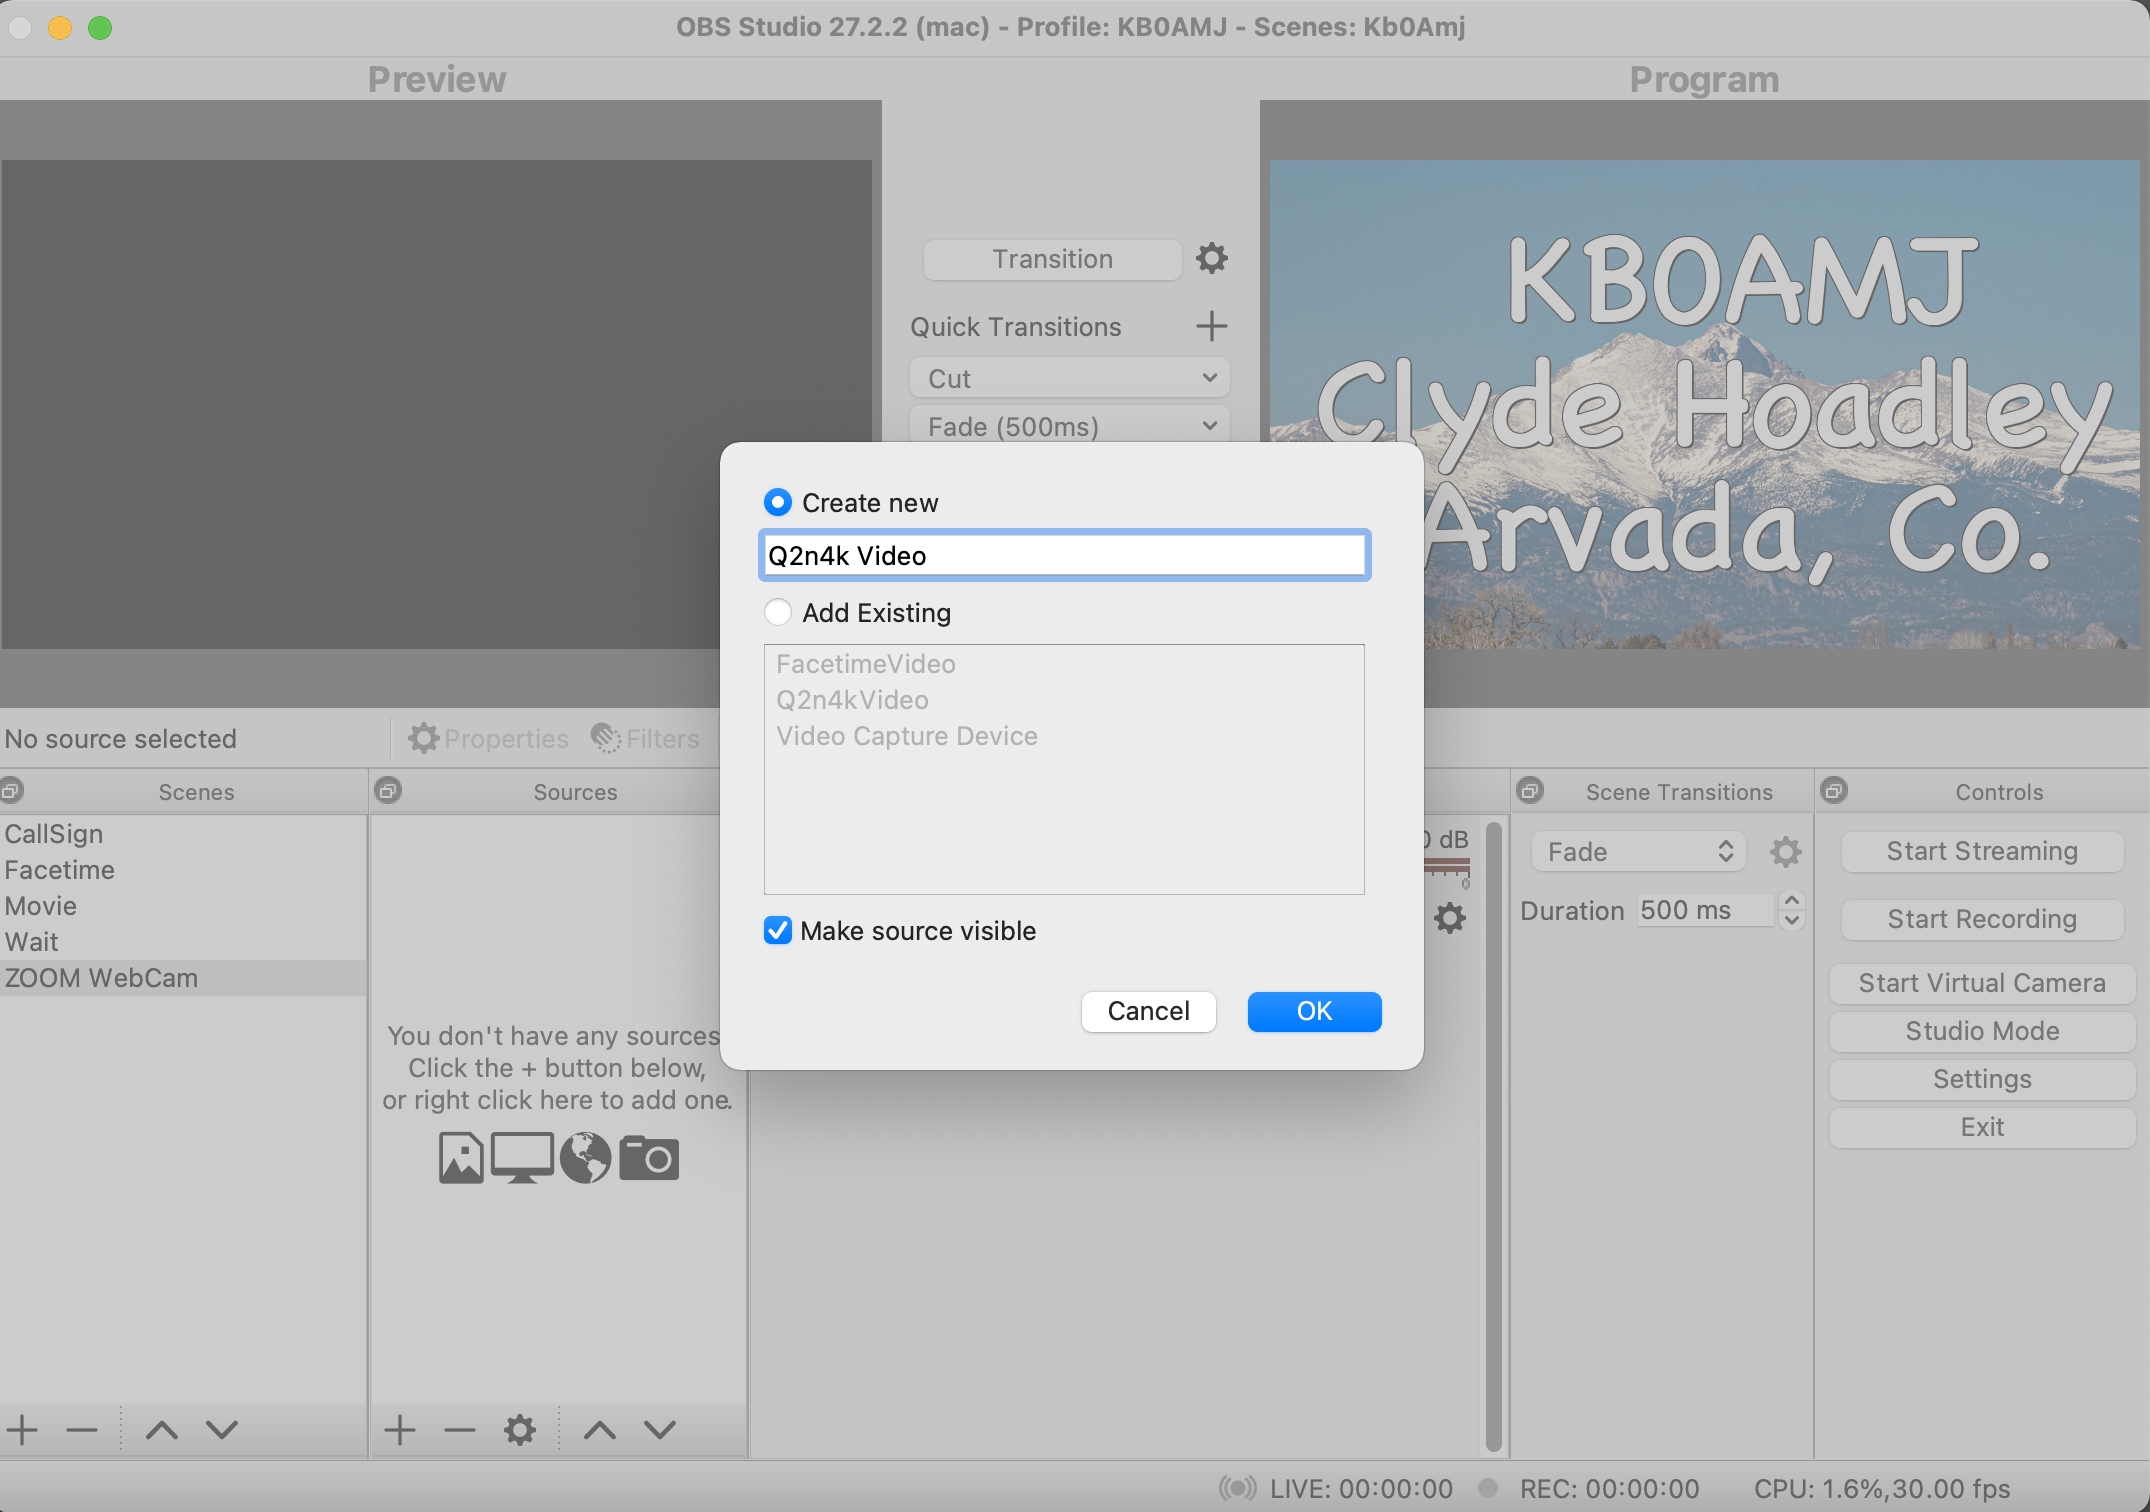
In Sources click the plus sign and select Video Capture Device and give the new device a name (I use Q2n4k Video) and click OK.
On the Video Capture Device screen select "Q2n-4k Web Cam" in the Device dropdown box. Select the highest resolution available in the Preset dialog box. When used as a webcam the Q2n-4k maximum output is limited to 720. Click OK.
Video input devices and audio input devices must be added seperatley in OBS. Use the same scene from above and click the plus sign in the sources section. Select Audio Input Capture and give the new device a name (I use Q2n4k Audio) and click OK. On the Audio Input Capture screen select "Q2n-4k Web Cam" in the device dropdown box and click OK.
When using the Q2n-4K webcam you must have Auto Gain set to Concert, Solo, or Meeting. If Auto Gain is set to off then you must adjust the audio levels manually with the dial on the right side. You will also need to monitor the webcam audio in the Audio Mixer panel in OBS.